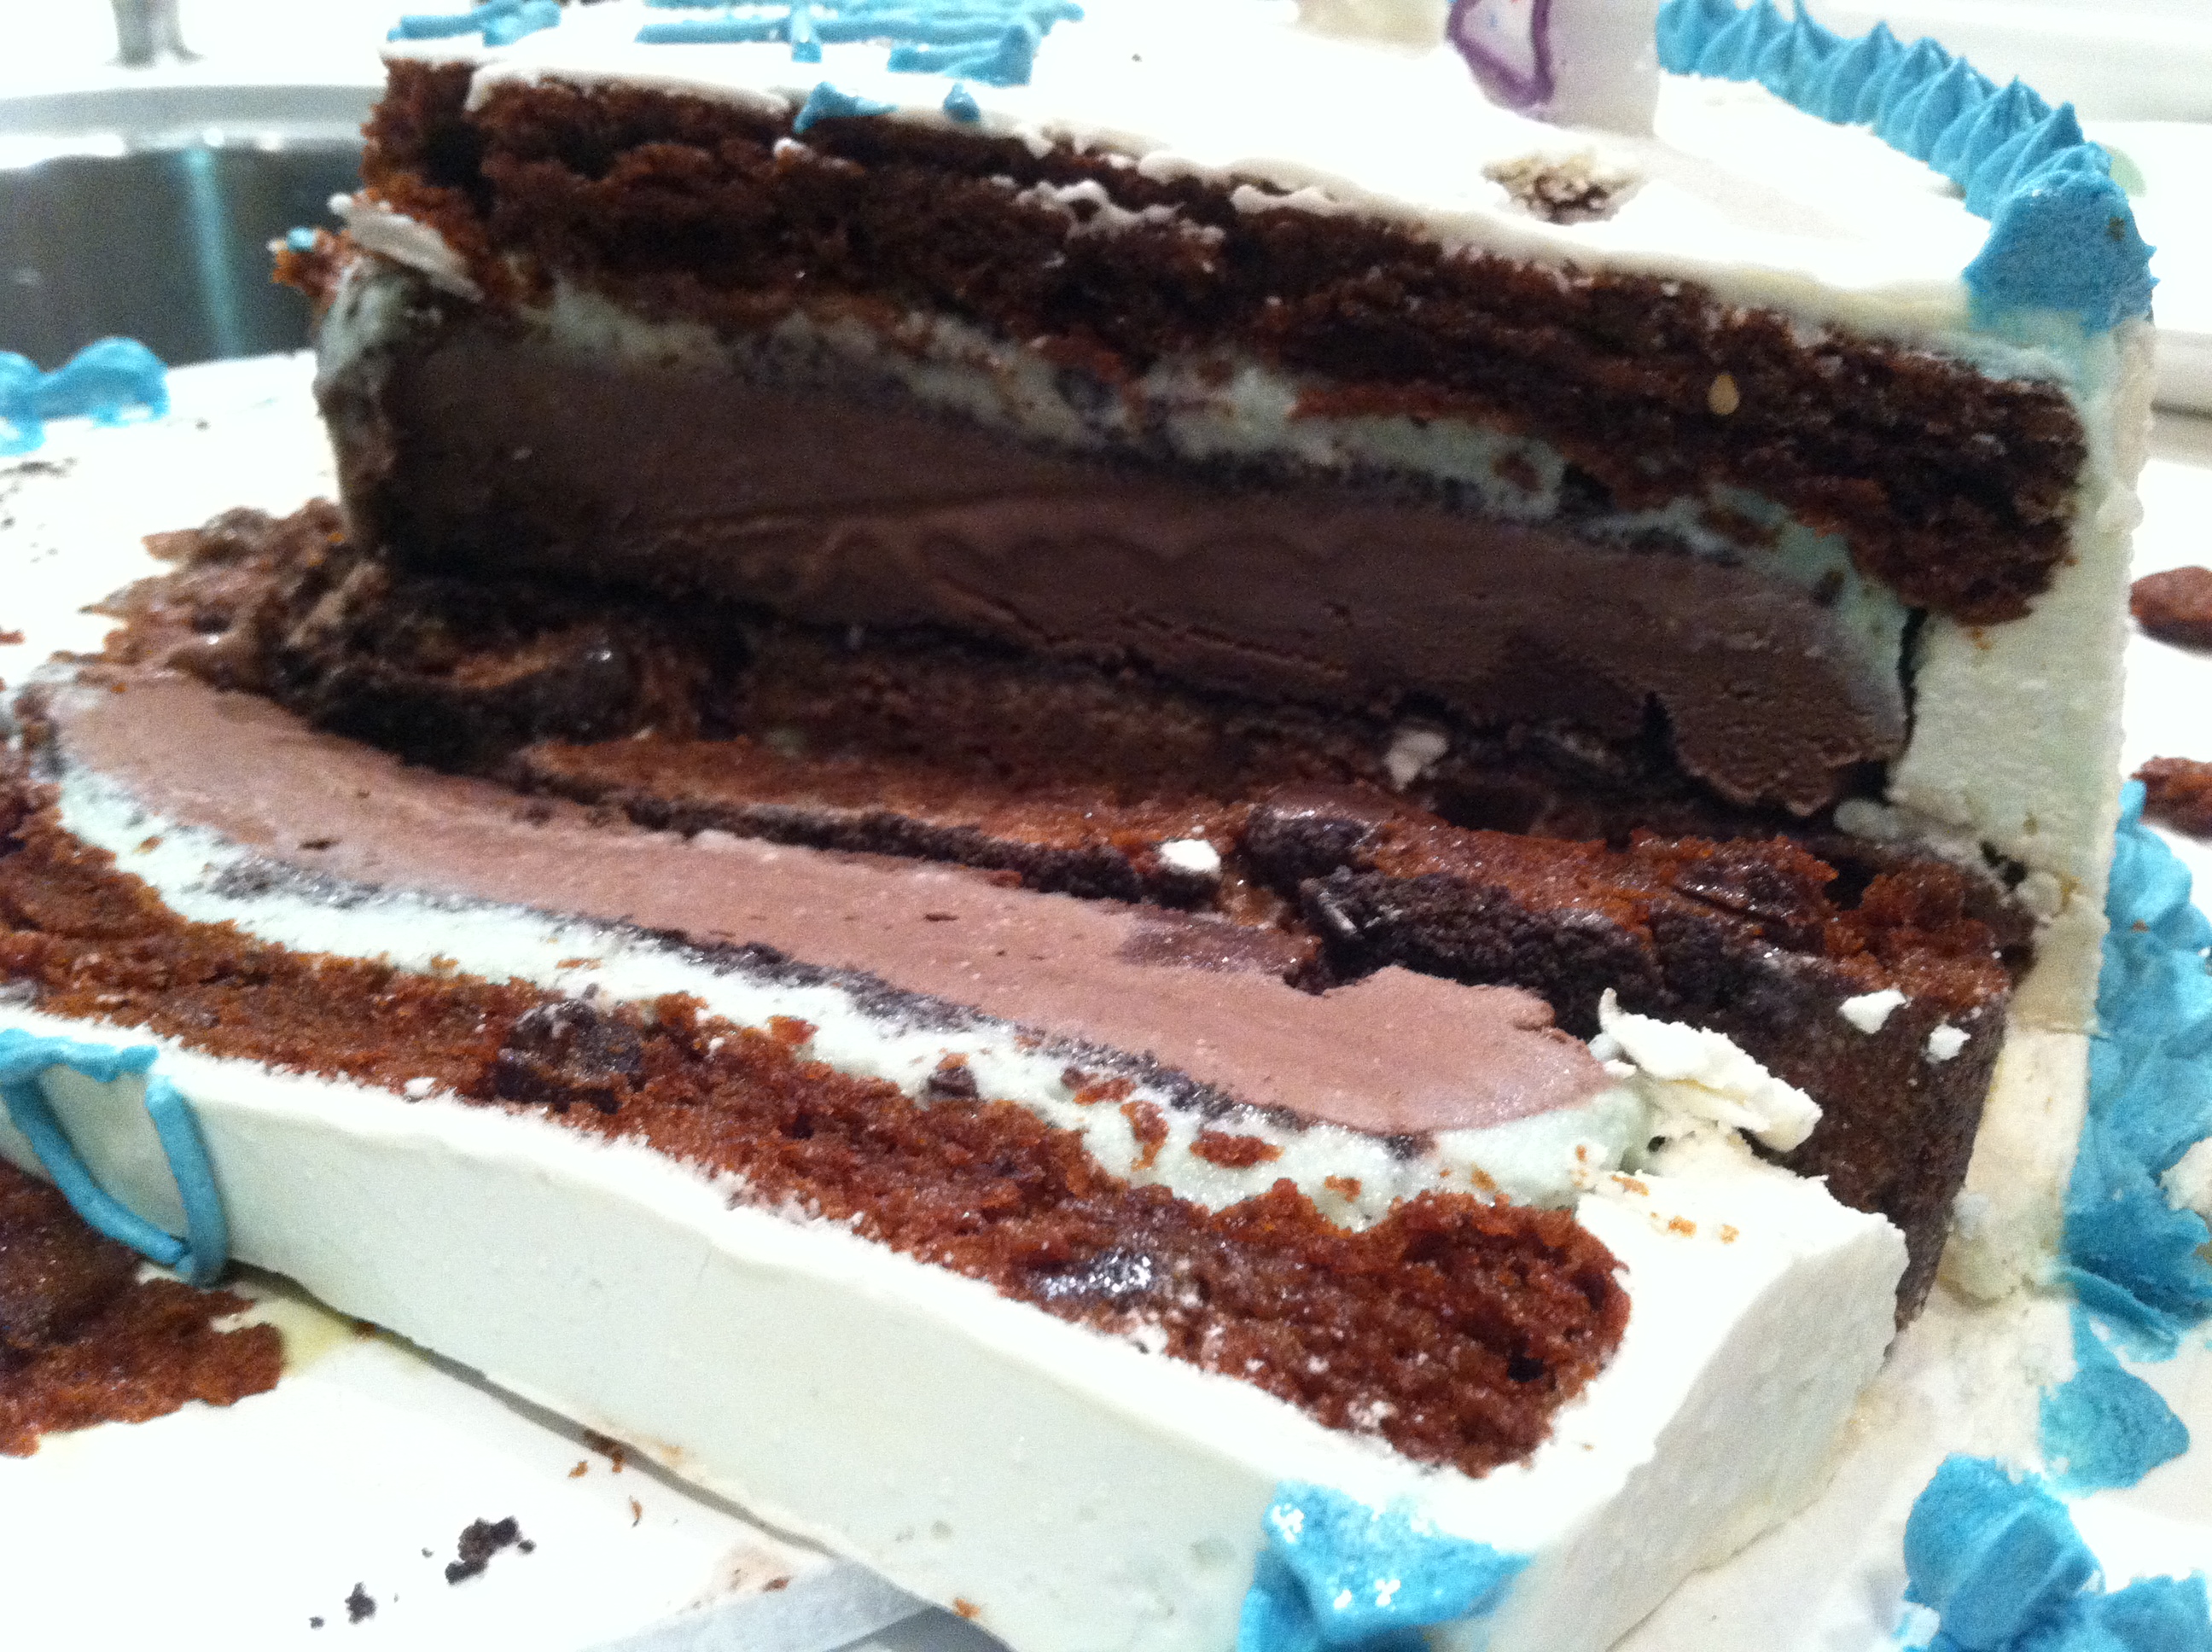
Gluten Free Mint Chocolate Chip Ice Cream Cake
1 batch of gluten free brownies (recipe to follow)
2 473ml cartons of gluten free mint chocolate chip ice cream (I used Telenti)
1 900ml carton of gluten free chocolate ice cream (I used premium dark chocolate, Trader Joe’s brand)
1 package of gluten free oreo cookies (I used KinniTOOS of Kinnikinnich Foods – found them at Whole Foods), crushed
Buttercream
2 sticks (1 cup) softened, unsalted butter
4- 6 cups powdered sugar
1 teaspoon vanilla
1/4 cup cream
pinch of salt
Tools
Cake turntable (if you don’t have one, it’s no biggy. This just makes it much easier to ice and build cakes. If you make cakes often, invest in one – you will love me for it, just sayin…)
2 12 inch pans
Parchment paper
Some kind of non-stick spray
Large offset spatula
1 12 inch cardboard cakeboard
1 14 inch base for the cake to be serve on (I used a 1/4 thick white foam board)
For the gluten free brownie:
1 16 oz jar of creamy roasted almond butter (I tried it with the raw stuff and it didn’t come out as well – so stick to roasted!)
2 eggs
1 1/4 cup agave
1 tablespoon vanilla extract
1/2 cup cocoa powder
1/2 teaspoon salt
1 teaspoon baking soda
1 cup dark or semi sweet chocolate chips (the original calls for dark, but I used semi sweet and loved the results since I didn’t have dark on hand)
Preheat oven to 325F.
1. Place the almond butter in a stand mixer with a paddle attachment and cream it on high speed for about 2 minutes until it’s smooth. You can also just use a hand mixer.
2. Blend in the eggs, one at a time until just incorporated. Add the agave and vanilla and blend again.
3. Blend in the cocoa powder, salt and baking soda, and mix until just combined. Add the chocolate chips in and mix by hand.
4. Grease a 9 by 13 inch pan and line the bottom with parchment paper. You can also use any shape pan you want. Just make sure that the batter only comes up about 1/2 an inch on the side of the pan. Essentially, you want the batter to just barely cover the bottom of the pan. Any higher and you end up having to double the baking time and even may end up burning the edges. Might have happened to me…
5. Bake for 35-40 minutes.
Putting your ice cream cake together:
1. Bake the brownies. Divide the batter into 2 12 inch pans. Don’t worry: the batter will just barely cover the bottom of your greased, parchment paper lined pans. This is ok, because we only want the brownie to be about an inch in height anyway. Let the brownie cool. Set aside.
2. When you’re ready to work with the brownie, take out your mint chocolate chip ice cream from the freezer, and let it sit on the counter at room temperature for about 20-30 minutes, just until it’s soft enough to spread like icing, but not soupy. Flip the brownie out of the pan and onto the cake board: you want the flat side of the brownie to be upright so it provides a flat surface for you to ice on. Place the cakeboard and brownie on your cake turntable.
3. Spread your ice cream on the brownie as evenly as possible, getting as close to the edge as possible. Sprinkle some crushed oreo cookies on top of the ice cream layer so that the cookies cover the entire surface area of the ice cream. Place in the freezer for at least 30 minutes, or until firm.
4. Repeat the same step with the chocolate ice cream. Add another layer of cookie crumbs. Place back in the freezer for 30 minutes.
5. Repeat the same step with the second carton of mint chocolate chip ice cream. This time, instead of putting more cookie crumbs on top, place the brownie on top of the ice cream, flat side up to provide a flat top on which to ice. Place the cake in the freezer for another 30 minutes.
6. At this point, I covered the cake in plastic wrap to avoid freezer burn, and let it sit in the freezer overnight. I iced it the next day. If you want to do it all in one day, just let the finished cake sit in the freezer for at least 2 hours before icing it to ensure it’s firm enough.
7. Make your buttercream: whip the butter for about 3 mintues until smooth. Add your cream, vanilla, salt, and 1 cup of sugar at a time. Whip until smooth. Place the cake on your cake turntable and ice it fast, before it melts!! Place it back in the freezer.
8. If you want to do what I did, choose a food color, and dye some of your leftover icing. Place in a piping bag with a star tip, and make your patterns accordingly.
9. To do the happy birthday writing, switch tips to a small round.